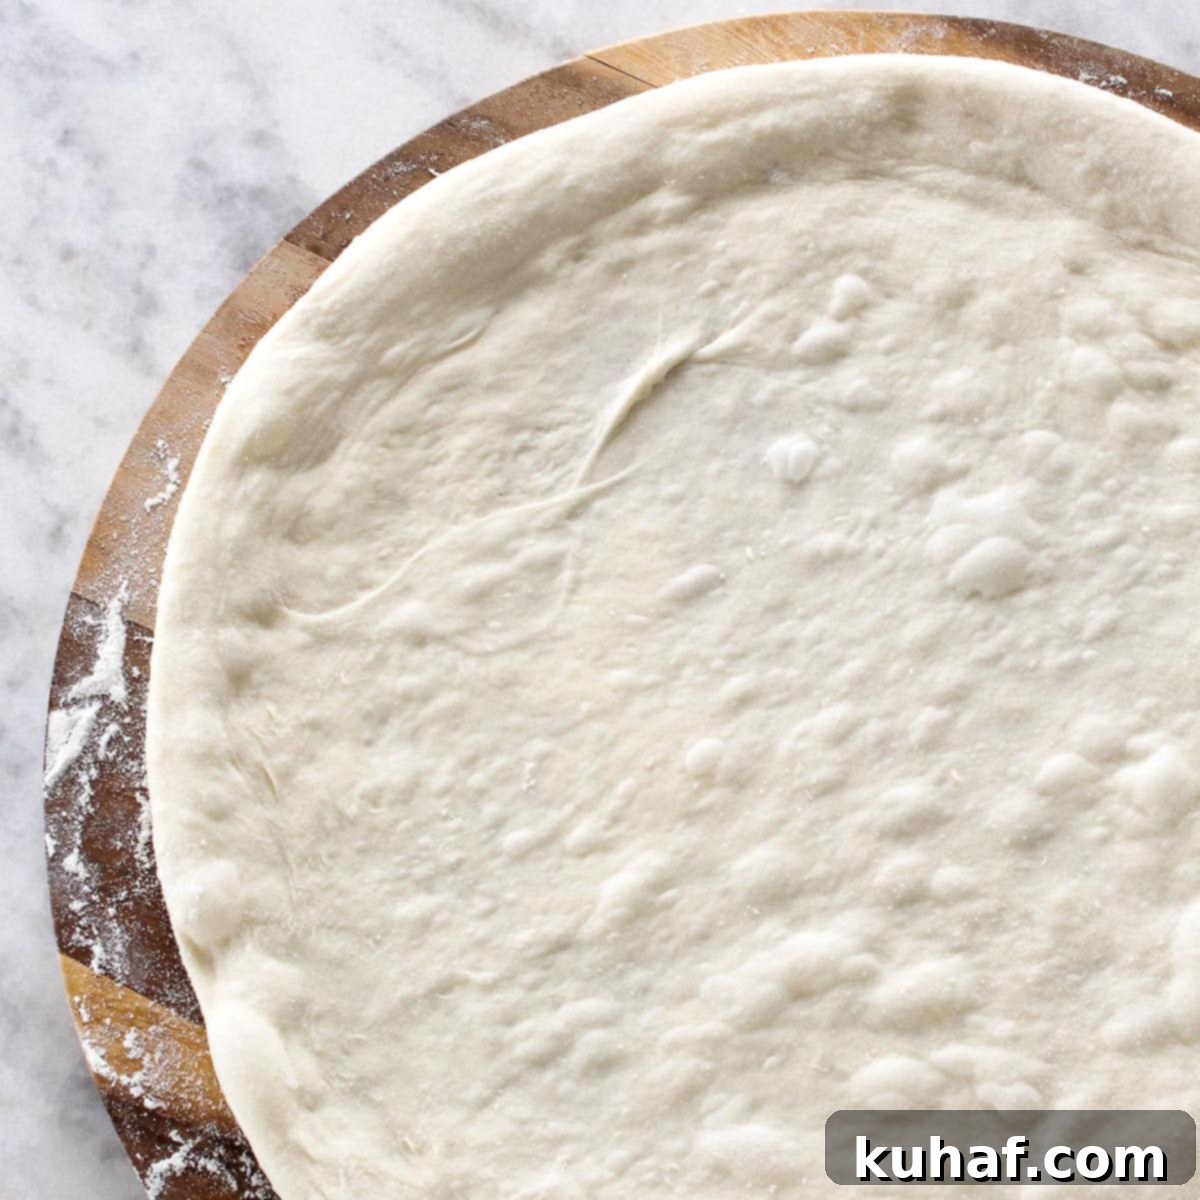
Effortless Sourdough Pizza Dough: Quick Food Processor Recipe for a Perfect Crispy-Chewy Crust (Uses Discard!)
Embark on a culinary journey to crafting the most incredible homemade pizza with this revolutionary sourdough pizza dough recipe. Designed for convenience and exceptional flavor, this recipe is remarkably easy and fast, utilizing your food processor for minimal effort. The result? A perfectly balanced crust that is rich in sourdough flavor, delightfully chewy, and boasts an irresistibly crispy exterior. Best of all, it’s an ingenious way to put your sourdough starter discard to magnificent use!
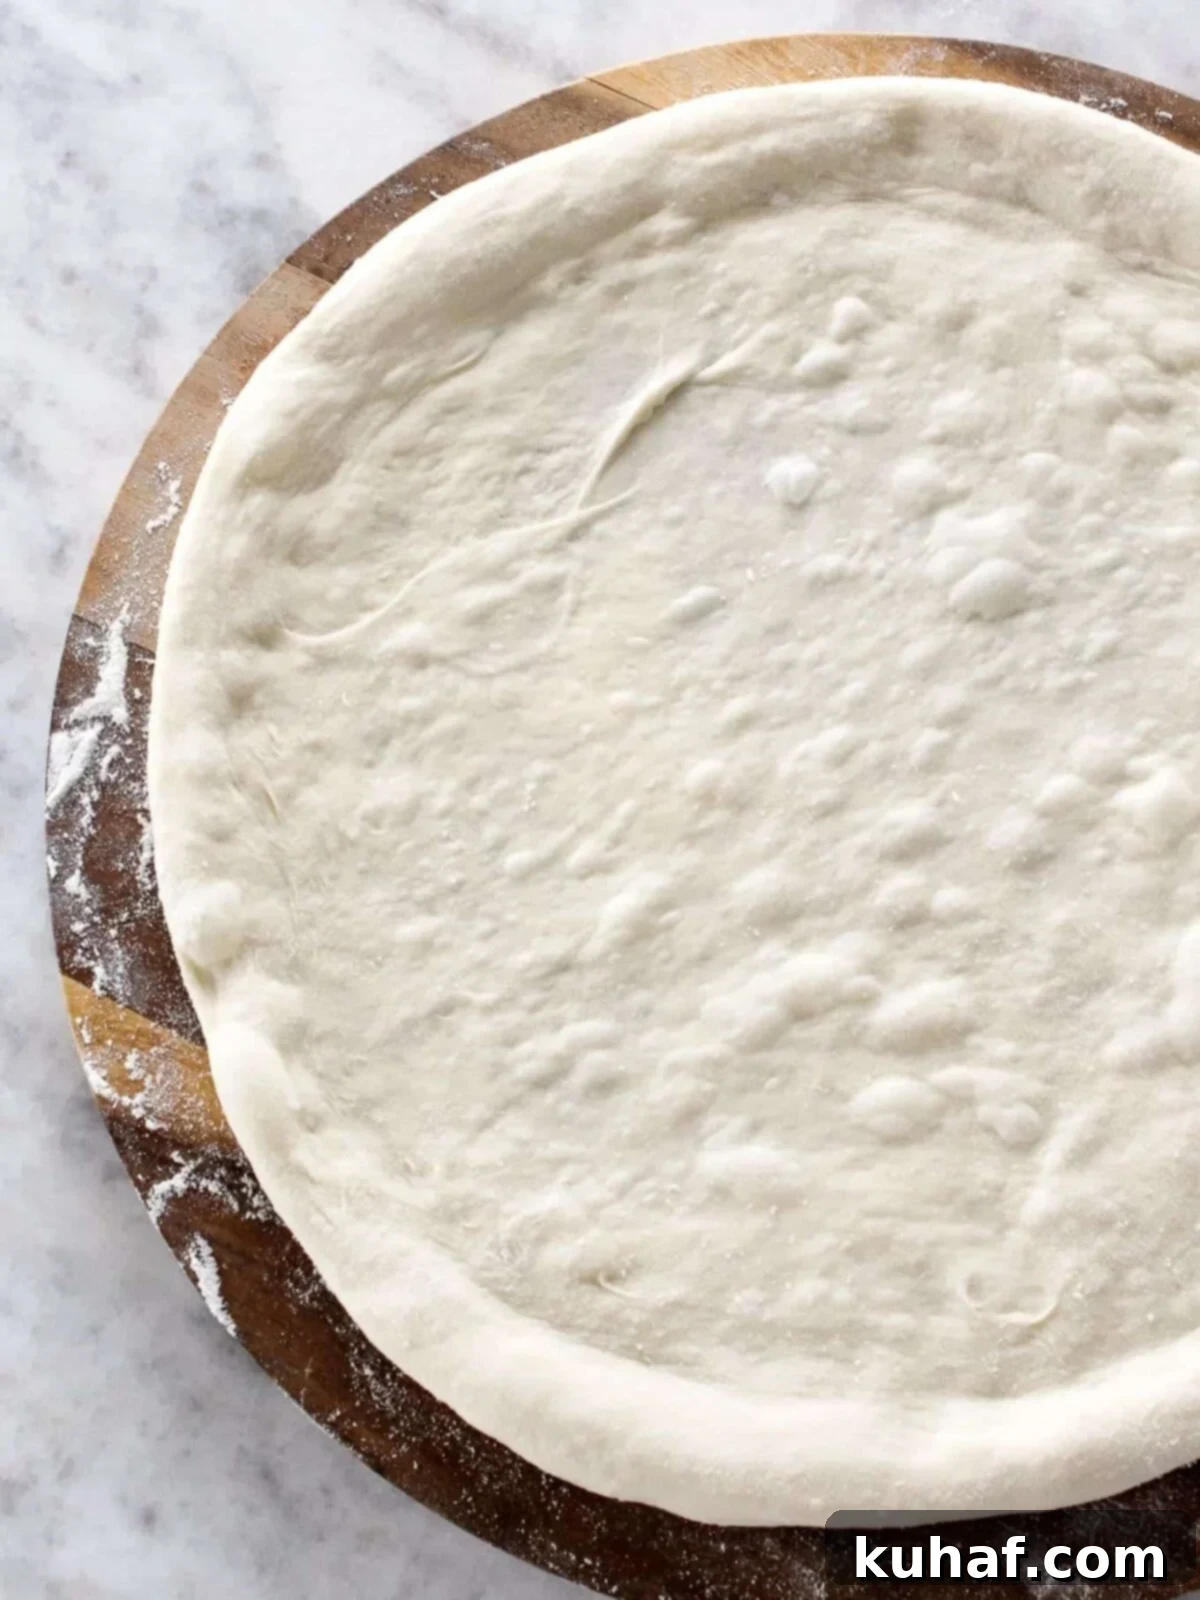
While the popularity of sourdough bread might ebb and flow, the universal love for pizza remains steadfast. And now, you can elevate your homemade pizza game to an entirely new level with this unbelievably easy and fast sourdough pizza dough. Forget about hours of strenuous kneading; this entire process takes place in your trusty food processor, making it accessible for even the busiest home cooks. The unique tangy depth that sourdough imparts to the crust transforms a simple cheese-delivery system into a gourmet experience.
Imagine a pizza where the crust isn’t just a base, but a star in its own right – chewy on the inside, wonderfully crispy on the outside, and bursting with complex flavor. This isn’t just another recipe; it’s a game-changer for your pizza nights. Once you’ve mastered this dough, you’ll be inspired to explore other homemade pizza elements, like whipping up the best pizza sauce or this delightful homemade tomato sauce, and trying delicious combinations such as a classic pepperoni pizza or a rustic pizza rustica next!
Table of Contents
- Why You’ll Adore This Sourdough Pizza Crust Recipe:
- Expert Tips for Perfect Sourdough Pizza Crust
- Essential Ingredients for Your Sourdough Pizza Dough
- Creative Variations for Your Sourdough Pizza Dough
- Step-by-Step Guide: Crafting Your Sourdough Pizza Dough
- Chef Lindsey’s Expert Baking Tip for the Perfect Crust
- Frequently Asked Questions About Sourdough Pizza Dough
- Sourdough Pizza Dough Recipe
- Before You Go: Elevate Your Home Baking!
Why You’ll Adore This Sourdough Pizza Crust Recipe:
- Uncomplicated & Rapid with Sourdough Discard Utilization: This recipe shatters the myth that sourdough baking must be complex and time-consuming. It’s incredibly easy, remarkably fast, and perfectly designed to utilize your sourdough starter discard – a fantastic solution for minimizing waste and maximizing flavor. Say goodbye to intricate folding techniques or lengthy bulk fermentation schedules. With this method, you simply mix, divide, shape, and proof, making it an ideal entry point for sourdough novices and a cherished go-to for seasoned bakers. It truly is one of the most satisfying ways to transform your discard into something extraordinary.
- Exceptional Flavor, Minimal Effort (No Kneading Required!): The magic of this dough lies in its ability to develop profound, nuanced sourdough flavor without a single moment of hands-on kneading. Thanks to the power of your food processor, the initial mixing is done for you. Subsequently, the extended, slow fermentation in the refrigerator does all the heavy lifting, breaking down starches and developing those coveted tangy notes and complex aromas. This “cold proof” means you get incredible flavor with virtually no extra active time or constant monitoring, allowing the dough to mature beautifully while you go about your day.
- Your Go-To Make-Ahead Pizza Solution: Planning for pizza night has never been simpler. Once this dough is prepared and nestled in the fridge, it patiently waits for you, ready to be transformed into a delicious pizza whenever the craving strikes. This flexibility makes it a dream for meal prep; you can easily double or even triple the batch. Individual dough balls can be wrapped tightly in plastic wrap and kept in the freezer for up to two months, ensuring you always have artisanal quality pizza crust at your fingertips, ready for spontaneous gatherings or quick weeknight meals. It requires just a little foresight, but the payoff in convenience and taste is immense.
Expert Tips for Perfect Sourdough Pizza Crust
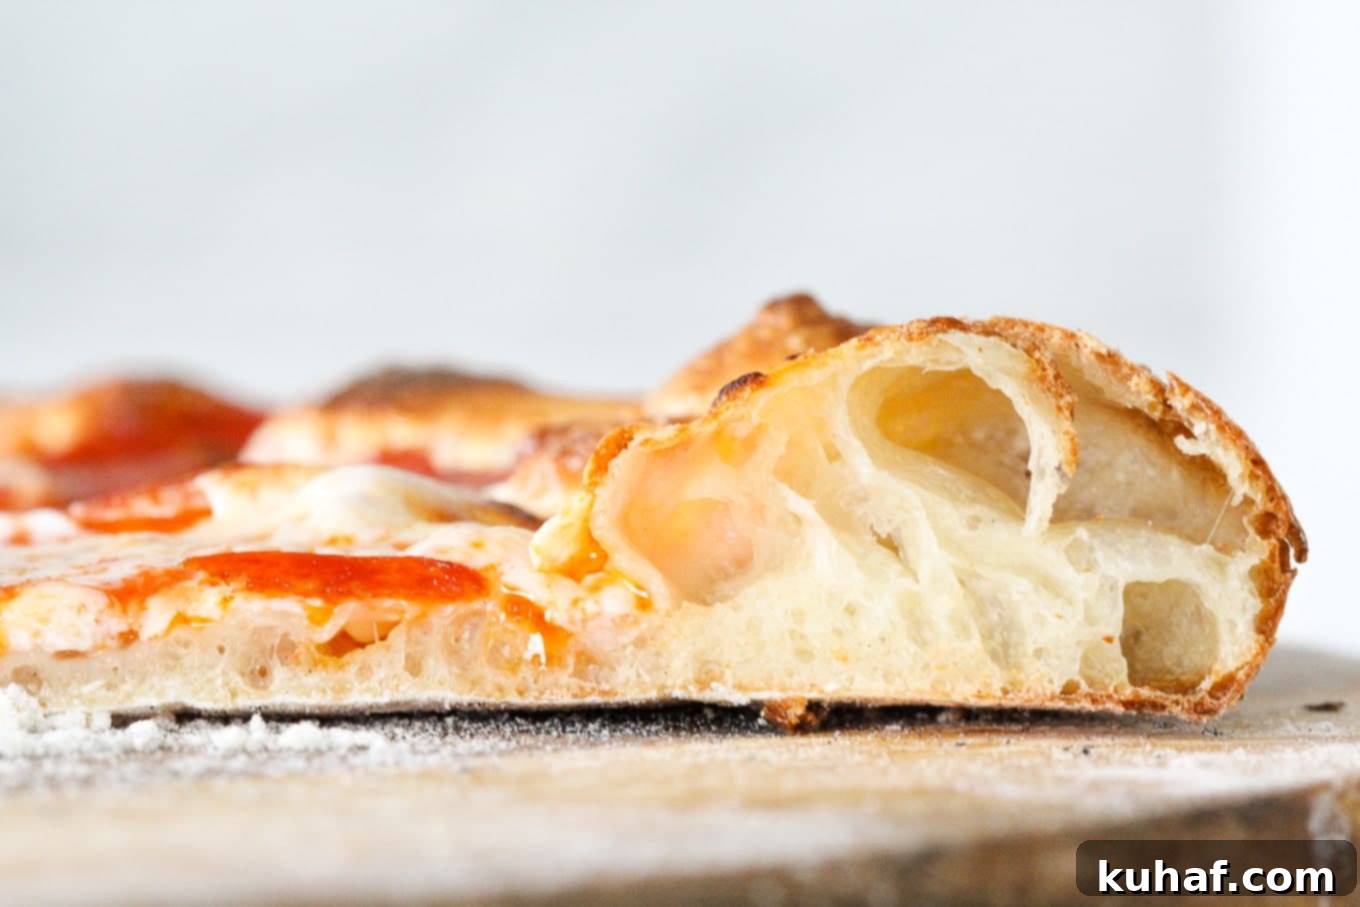
- Mastering the Art of Dough Shaping (Ditch the Rolling Pin!): One of the most common pitfalls in achieving an authentic, airy pizza crust is improper shaping. Resist the urge to reach for a rolling pin! While it might seem easier, a rolling pin forcefully expels all the precious air bubbles that have developed during fermentation, leading to a dense, flat crust. Instead, embrace the gentle art of hand-stretching. Use your fingertips to press the dough outwards from the center, creating a raised edge (the ‘cornicione’). Then, gently lift and stretch the dough, letting gravity do some of the work, rotating as you go. This technique preserves those vital air pockets, ensuring a crust reminiscent of a classic New York-style slice – light, airy, and with an irresistible chew.
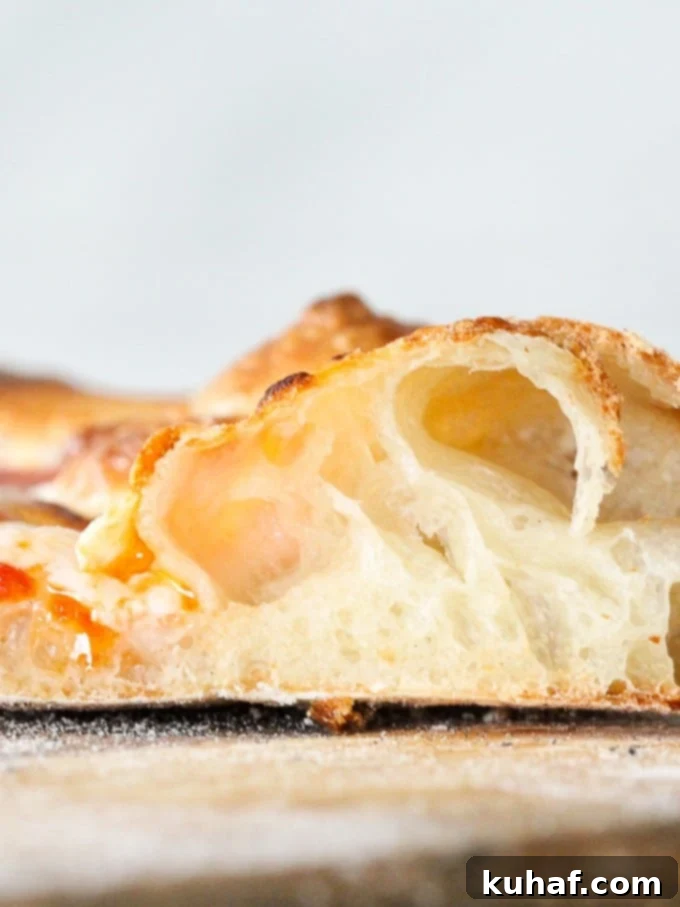
- Preserve Those Precious Air Bubbles: The signature light and airy texture of a great pizza crust comes from the countless tiny air bubbles trapped within the dough. These bubbles are formed by the yeast and sourdough starter during fermentation. When you’re shaping your dough, treat it with care. Gentle handling is key to preventing these bubbles from deflating. If you see them forming as you stretch, celebrate them! They are your guarantee of a spectacular, open crumb structure in the finished product. A deflated dough will result in a tougher, denser crust, so handle with a light touch and respect the fermentation process.
- The Importance of a Room Temperature Final Proof: Before your sourdough pizza dough hits the hot oven, it needs a crucial period to relax and come to room temperature. After its cold fermentation in the refrigerator, the gluten structure will be tight, and the dough will be somewhat stiff. Allowing it to sit at room temperature for 1-2 hours (or even up to 4, depending on your ambient temperature) lets the gluten relax, making the dough incredibly soft, pliable, and much easier to shape. This final proof also gives the yeast one last burst of activity, contributing to a more airy and flavorful crust. If you’ve ever watched a professional pizzaiolo at work, you’ll notice their dough is always beautifully relaxed and extensible – that’s the result of proper warming and proofing. For a visual guide, my comprehensive sourdough pizza dough tutorial demonstrates exactly how pliable the dough should be after this crucial step.
Essential Ingredients for Your Sourdough Pizza Dough
- 00 Flour (Caputo Flour): This finely milled Italian flour is often considered the gold standard for pizza dough. Its incredibly fine texture and moderate protein content (typically around 12-12.5%) allow for a beautifully extensible dough that can be stretched very thin without tearing, yielding a remarkably tender interior and a crisp exterior. While often branded as “Caputo,” 00 flour refers to the milling grade, indicating how finely it’s ground. It’s truly worth seeking out for an authentic Neapolitan-style crust, contributing to both texture and flavor.
- Bread Flour: Complementing the 00 flour, bread flour provides a higher protein content (typically 12-14%), which is essential for developing strong gluten networks. This gluten structure is what gives your pizza dough its elasticity, chewiness, and the ability to trap gas, creating those desirable airy pockets. Using a blend of 00 and bread flour gives you the best of both worlds: the superior stretch of 00 and the robust structure of bread flour.
- Kosher Salt: More than just a flavor enhancer, salt plays a crucial role in dough development. It controls the rate of yeast fermentation, strengthens the gluten structure, and adds a vital depth of flavor that would be noticeably absent without it. Kosher salt is preferred for its pure taste and easy dissolution compared to iodized table salt.
- Sugar: A small amount of sugar acts as food for the yeast, helping to kickstart the fermentation process. It also contributes to browning in the crust, giving it that lovely golden hue and slightly crisp texture when baked at high temperatures. Don’t worry, it won’t make your pizza taste sweet!
- Dry Active Yeast: While sourdough starter is the star for flavor, a small amount of dry active yeast provides an extra boost of leavening power, ensuring a consistent and quicker rise. This hybrid approach allows for the rich complexity of sourdough without the extended proofing times often associated with 100% sourdough doughs. It ensures a reliable and airy crust every time.
- Water: The Foundation of Your Dough: The quality of your water significantly impacts your dough. In many urban areas like New York City, tap water is excellent for sourdough. However, if you reside in an area with hard water (high mineral content) or chlorinated water, it can hinder fermentation and tighten the gluten, resulting in a denser, less airy dough. For best results, consider using distilled, bottled, or filtered water. To naturally dechlorinate tap water, simply let it sit uncovered in a container for 24 hours. Boiling and cooling tap water to room temperature is another effective method to eliminate chlorine.
- Extra Virgin Olive Oil: Olive oil contributes to the dough’s tenderness, elasticity, and subtle richness. It also aids in browning and creates a more flavorful crust. Opt for a good quality extra virgin olive oil for the best taste.
- Sourdough Starter (Fed or Unfed – Discard is Perfect!): This recipe shines because it brilliantly utilizes your sourdough starter, whether it’s recently fed and active or unfed and ready to be discarded. An active starter (one that doubles in 12-14 hours after feeding) will contribute more immediate leavening, but the small amount of commercial yeast ensures success even with discard. Using discard is a sustainable and flavorful choice, infusing your crust with that characteristic tangy depth. If you’re new to the world of sourdough, I highly recommend starting with my detailed sourdough starter recipe to cultivate your own active culture.
For precise measurements and detailed quantities, please refer to the comprehensive recipe card located further down this page.
Creative Variations for Your Sourdough Pizza Dough
- Yeast-Free Sourdough Pizza Dough (100% Sourdough): Absolutely! For the purists who prefer to rely solely on the power of their sourdough starter, you can omit the dry active yeast entirely. When going yeast-free, ensure your sourdough starter is very active and bubbly. The fermentation time will naturally extend, likely requiring a longer cold proof – expect it to take closer to 48 hours, or even up to 72 hours, in the refrigerator for optimal flavor development and rise. This method yields an even more pronounced sourdough tang and a wonderfully complex crust for those with a little more patience.
- Using All Bread Flour (No 00 Flour): While 00 flour lends a specific tenderness and stretch to the dough, you can certainly achieve a fantastic pizza crust using solely bread flour. If 00 flour isn’t readily available, simply substitute the entire amount with bread flour. The resulting crust will still be delicious, offering a robust chew and excellent structure. However, I strongly advise against using all-purpose flour if you can avoid it, as its lower protein content may result in a less elastic dough that is harder to stretch and can yield a less satisfying, softer crust. Bread flour’s higher protein content is crucial for the strong gluten development needed for a great pizza.
- Understanding Sourdough Starter Feeding Ratios: The ratio at which you feed your sourdough starter (flour:water:starter) is indeed a personal preference and can influence its activity and characteristics. Whether you maintain a 1:1:1, 1:2:2, or any other ratio, the key is consistency and having an active, vigorous starter. An active starter, regardless of its feeding ratio, can be used to create any type of levain or dough. For a deeper dive into the science and art of maintaining and feeding your sourdough starter, I encourage you to explore my dedicated guide on how to feed sourdough starter! You’ll gain valuable insights that can be applied to all your sourdough baking adventures, from this pizza dough to more intricate bakes like sourdough focaccia.
Step-by-Step Guide: Crafting Your Sourdough Pizza Dough
These detailed instructions will walk you through each stage, ensuring a perfect dough. For precise measurements and quantities, kindly refer to the full recipe card below.
- Prepare Your Baking Surface: Begin by lightly oiling a spacious baking sheet or a suitable baking dish with canola oil. This crucial step prevents the dough from sticking during its cold proofing and ensures easy handling later. Set it aside for when your dough is ready.
- Dry Ingredients in the Food Processor: Equip your food processor with its standard S-blade – no need for any specialized attachments here, any blade will work efficiently. Add the 00 flour, bread flour, kosher salt, sugar, and dry active yeast into the food processor bowl. Secure the lid and pulse the ingredients a few times until they are well combined and uniformly distributed. This initial step ensures all the dry components are thoroughly mixed before liquids are introduced.
- Combine Wet Ingredients & Add to Food Processor: In a separate small bowl, whisk together the water, extra virgin olive oil, and your sourdough starter (whether fed or discard). Ensure the starter is fully incorporated into the liquids. With the food processor running on a low setting, slowly and steadily pour the entire wet mixture through the feed tube.
- Process to Form Dough Ball: Allow the food processor to continue running. Initially, the mixture will look shaggy, but within a minute or two, it will come together to form a cohesive dough ball. Once a ball has clearly formed, let the food processor run for an additional 30 seconds to further develop the gluten. This short burst of processing mimics light kneading without any manual effort. Then, stop the food processor.
- Prepare Work Surface & Divide Dough: Lightly flour your work surface – a little “bench flour” is all you’ll need, as this dough isn’t excessively sticky. Using a flexible spatula, carefully scrape all the dough out of the food processor bowl and onto your prepared counter. With a bench scraper, divide the dough into two equal pieces. This recipe is perfectly portioned to yield two approximately 14-inch pizzas.
- Shape into Smooth Dough Balls: Take one piece of dough and begin to form it into a neat ball. The simplest method is to gently fold all four sides of the dough into the center, effectively creating tension on the surface. Flip the dough over so the seam side is down. Then, using the palms of your hands or the edge of a bench scraper, pull the dough towards you, rotating it slightly, and repeat this motion. This technique “tightens” the surface, creating a smooth, round ball with good surface tension. This tension is vital for a good rise and an even crust.
- Oil & Refrigerate for Flavor Development: Place each perfectly shaped dough ball onto the oiled baking sheet you prepared earlier. Lightly rub a bit more oil over the top of each dough ball – this prevents a dry skin from forming. Individually wrap each dough ball tightly in plastic wrap, ensuring no air can get in. Then, place them in the refrigerator.
A little tip from my own experience (and one I learned making the video): Make sure the starter is fully integrated with the water and oil before pouring; thick starter bits can be tricky to get through the narrow feed tube when the machine is running! Don’t make the same mistake I did!
Add just a little bit of bench flour to your lightly floured surface as needed, ensuring the dough remains manageable without drying it out.
You can also shape it using the bench scraper, a technique beautifully demonstrated in my sourdough pizza dough tutorial on YouTube. While I personally prefer a thinner crust, feel free to adjust the thickness to your liking during shaping.
This tight wrapping is essential to prevent a crusty skin from forming on your dough, which can hinder proper stretching and baking.
For effortless transfer to your hot oven, assemble your pizza directly on a piece of parchment paper placed on a cutting board or pizza peel. I highly recommend topping your masterpiece with vibrant fresh basil, creamy fresh mozzarella cheese, and your favorite homemade pizza sauce for an unparalleled experience!
Chef Lindsey’s Expert Baking Tip for the Perfect Crust
Achieving that coveted crispy-on-the-outside, chewy-on-the-inside pizza crust requires extremely high heat and a non-stick surface. If you’re using a pizza stone, generously flour your pizza peel or dust it with cornmeal. The cornmeal acts like tiny ball bearings, helping the pizza slide effortlessly from the peel onto the scorching hot stone. If you don’t have a pizza stone, a preheated metal baking sheet (turned upside down for easier sliding) or a dedicated pizza pan can work wonders. Even a cast iron skillet can serve as an excellent stand-in, replicating the intense heat transfer of a pizza stone. Before you load your pizza with toppings, give the loaded pizza peel a gentle shake to ensure the dough moves freely. If it sticks even slightly, carefully lift the offending spot and dust a little more flour or cornmeal underneath. This simple step is critical for a smooth transfer and prevents a messy situation in your hot oven. Remember, a blazing hot oven (500-550°F / 260-290°C) is paramount for flash-cooking the crust, locking in moisture while creating that perfect textural contrast that defines truly great pizza.
Frequently Asked Questions About Sourdough Pizza Dough
Absolutely, yes! This recipe is specifically designed to be flexible with your sourdough starter. You can confidently use either a recently fed, active sourdough starter or unfed sourdough discard. In fact, using discard is a fantastic way to prevent waste and infuse your pizza crust with that signature tangy sourdough flavor. The small amount of commercial yeast in the recipe ensures a reliable rise and structure, even if your discard isn’t at peak activity. It’s a win-win for flavor and sustainability!
Your sourdough pizza dough can be safely stored in the refrigerator for up to 72 hours (3 days). This extended cold fermentation is crucial for developing deep, complex flavors and a wonderfully elastic texture. While it’s perfectly usable after 24 hours, I’ve found that refrigerating it for 36 to 48 hours yields the optimal balance of flavor and texture – a perfect tangy depth without being overpowering. Beyond 72 hours, there’s a risk of the dough becoming overproofed, which can lead to an excessively sour taste and a weaker gluten structure. For longer storage, you can tightly wrap individual dough balls in plastic wrap, then place them in an airtight freezer bag and freeze them for up to two months. For best quality, I recommend freezing the dough immediately after initial shaping and oiling if you plan to store it for more than a few days, as this preserves its freshest state.
Both a pizza stone and a baking sheet can produce delicious results, though they offer slightly different experiences. A preheated pizza stone (or a baking steel) provides intense, even heat from below, mimicking a brick oven. This direct heat creates a wonderfully crispy bottom crust and a faster bake. If you don’t own a pizza stone, you can achieve excellent results by preheating a heavy-duty, rimmed baking sheet (turned upside down for easier pizza transfer) in your oven. Simply slide your topped pizza onto the hot baking sheet. Alternatively, you can build your pizza directly on a baking sheet lined with parchment paper and bake it all together. While this method might not give you quite the same intense crispness as a preheated stone, it will still yield a fantastic homemade pizza. The key, regardless of your chosen surface, is to ensure your oven is preheated to its highest temperature for at least 30-60 minutes to store enough heat for a quick, even bake.
Gentle handling is paramount to preserve the delicate air bubbles that form during the long fermentation process. These bubbles are responsible for the airy, open crumb structure and the light, chewy texture of your finished pizza crust. Aggressive handling, such as using a rolling pin or pulling too roughly, will deflate these bubbles, resulting in a denser, tougher crust. Instead, use your fingertips and the weight of the dough itself to stretch it gradually, respecting its elasticity. Think of it as coaxing the dough into shape rather than forcing it. This mindful approach ensures your sourdough pizza will have that desirable light and airy interior that contrasts beautifully with a crispy exterior.

If you tried this recipe and loved it, please leave a 🌟 star rating and let me know how it goes in the comments below. I love hearing from you; your comments make my day!
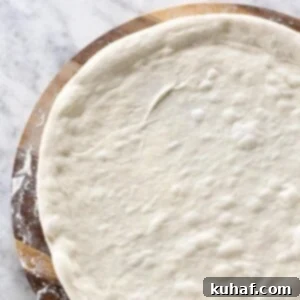
Sourdough Pizza Dough
Pin Recipe
Comment
Print Recipe
Ingredients
- 13 ⅓ tablespoons 00 flour Caputo
- 20 tablespoons bread flour
- 1 teaspoon kosher salt
- 1 tablespoon sugar
- ⅙ teaspoon dry active yeast
- 9 tablespoons water
- 5 teaspoons extra virgin olive oil
- 10 tablespoons sourdough starter fed or unfed (discard)
Instructions
-
1. Oil a Baking Sheet: Lightly oil a baking sheet or baking dish with canola oil to prevent sticking. Set aside.
-
2. Combine Dry Ingredients: Fit a food processor with any blade. Add 00 flour, bread flour, kosher salt, sugar, and dry active yeast. Pulse to combine.
-
3. Mix Wet Ingredients & Add: In a small bowl, combine water, olive oil, and sourdough starter. With the food processor running, pour the wet ingredients through the feed tube.
-
4. Process Dough: Allow the food processor to run until a dough ball forms, then continue for another 30 seconds to develop gluten. Stop the processor.
-
5. Divide Dough: Scrape the dough onto a lightly floured work surface. Using a bench scraper, divide it into two equal pieces.
-
6. Shape Dough Balls: Form each piece into a smooth ball by folding the sides into the center, then flipping and tightening against the counter.
-
7. Oil & Refrigerate: Place each dough ball on the oiled sheet, rub with a little oil on top, and wrap tightly in plastic wrap. Place in the refrigerator.
-
8. Cold Ferment: Refrigerate the dough for 24-72 hours. Longer refrigeration develops more flavor.
-
9. Room Temperature Proof: Before use, take the dough out of the refrigerator and let it sit at room temperature for 2-4 hours to become pliable. Further baking instructions can be found in my pepperoni pizza post!
Video
Notes
Essential Technique: To achieve that desirable airy, open-crumb crust, remember to shape your dough gently by hand, avoiding the use of a rolling pin. Preserve those precious air bubbles for an ultimate crispy-chewy texture.
Flavor Variations: For a more intense sourdough flavor and a purist approach, you can completely omit the dry active yeast. When doing so, allow the dough to proof with the sourdough starter alone, extending the refrigerator time to approximately 48 hours (or even up to 72 hours) for optimal rise and tang.
Storage & Make-Ahead: This dough is incredibly versatile for meal planning. You can store the prepared dough balls, tightly wrapped, in the refrigerator for up to 72 hours. For longer storage, freeze the dough for up to one month, ensuring you always have homemade pizza dough ready for any occasion. Thaw in the refrigerator overnight before bringing to room temperature.
Nutrition
Before You Go: Elevate Your Home Baking!
We trust you’ve found this professionally chef-tested recipe for sourdough pizza dough a valuable addition to your culinary repertoire. This method is truly a game-changer for homemade pizza, bringing artisanal quality directly to your kitchen. We encourage you to explore our other delicious, chef-developed bread recipes, where you’ll discover more innovative techniques and inspiring creations, especially within our growing collection of beloved sourdough recipes. Happy baking!

